Review the terms
As a Gravity Forms affiliate, it is important that you know and follow our Affiliate Terms.
To view our Affiliate terms’ complete and up-to-date version, open your affiliate Dashboard and view the Home page. On the bottom right-hand side of your homepage, you will see a box titled Contract Terms. If you select View All, you can read through the complete set of terms.
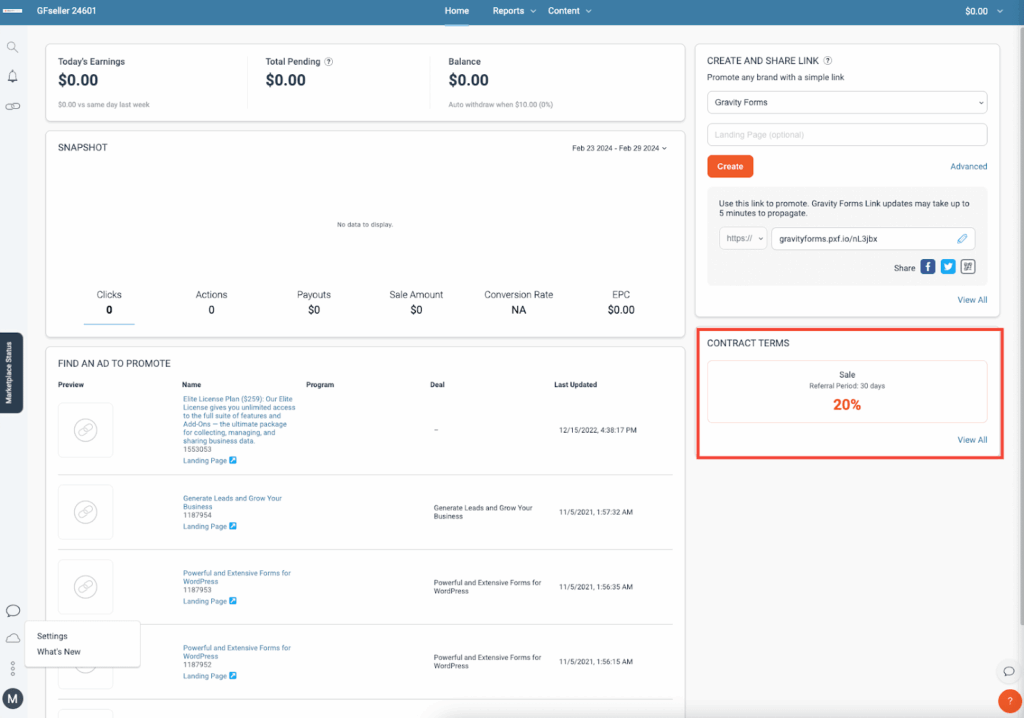
When you refer a customer through your tracking link(s), they have 30 days to complete a purchase for you to get credit. Our crediting policy is on a Last Click basis. We will pay 20% of the net sale amount for every sale you refer to.
Easy as that!
How to complete your withdrawal settings
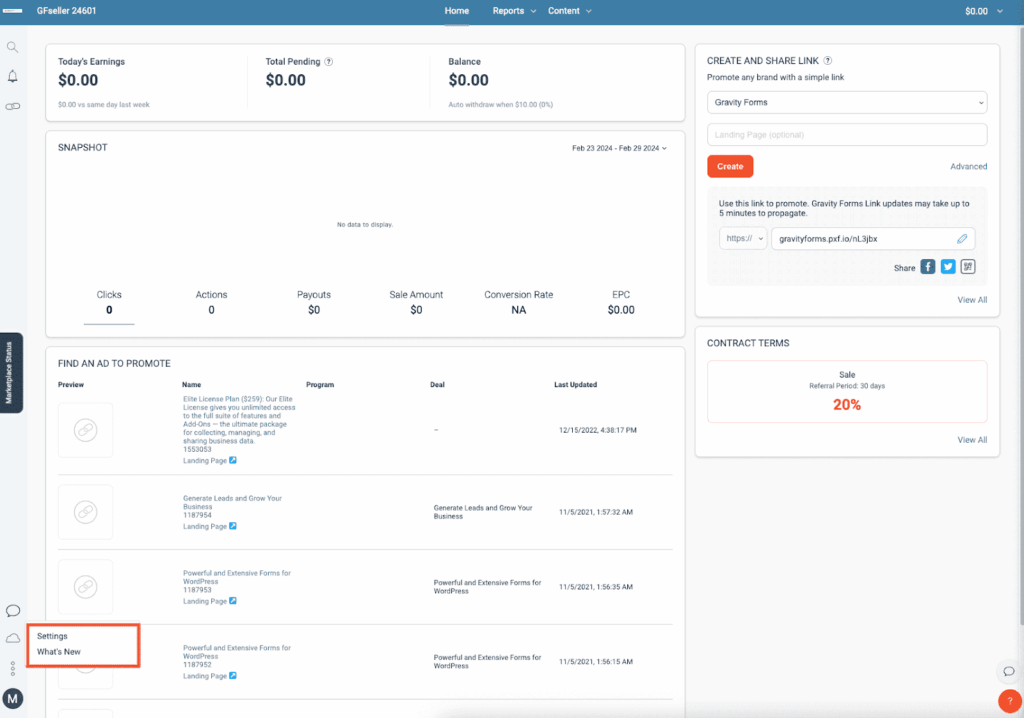
One of the first steps in setting up your account is to update your Withdrawal Settings. We want to make sure you get paid :). To do that, simply navigate to the bottom left of your Home screen, click the three dots, and select Settings.
Scroll down and under the Finance Heading, select Bank Account.

On the Withdrawal Settings page, you have the option to add your bank information or link to your PayPal account.
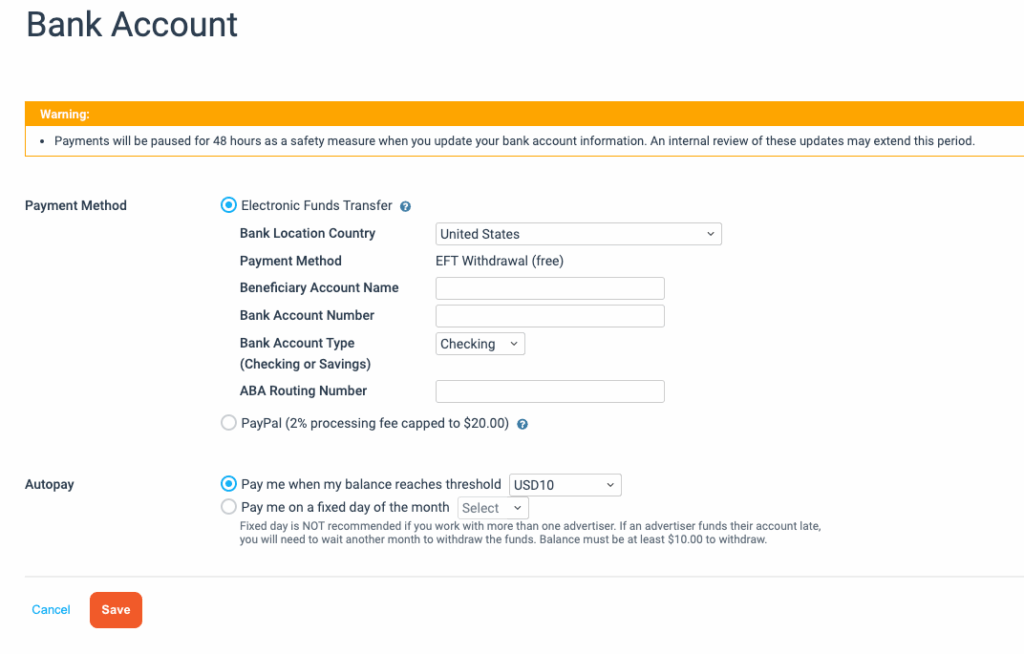
Note: PayPal charges a 2% processing fee, capped at $20.
You also have the option to select Payment Scheduling – choose to get paid when your balance hits a certain amount or on a fixed day each month.
How to create a tracking link
To create a new tracking link, you have two easy options. The first is simply clicking on the Chain Link icon on the left-hand side of your dashboard (the 3rd option from the top).
Clicking this icon will expand the sidebar, which you can then select to Create a new link. By default, this link will direct page visitors to the Gravity Forms home page. If you want to choose a different page, simply paste the link in the second text field (Enter a Landing Page (optional)).
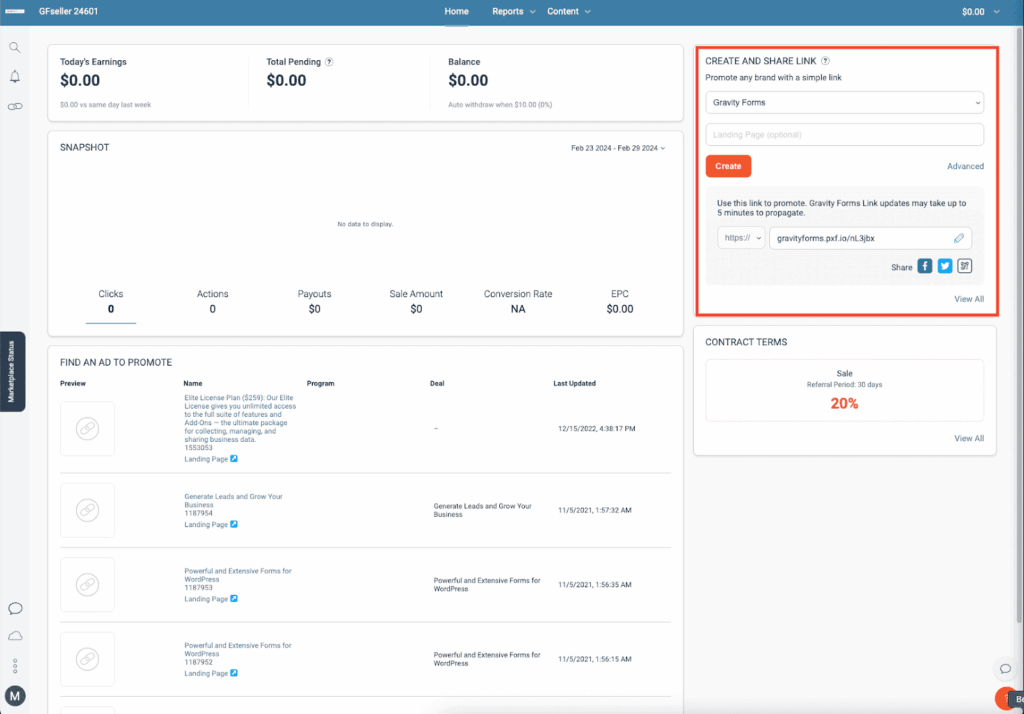
You can also create a link directly on your Home page. On the right-hand side, you’ll see a box titled Create a Link. Follow the same instructions as above to create a new link. After completing your Withdrawal Settings and creating your first tracking link, you’re ready to start sharing Gravity Forms with your audience!
However, there’s one more thing we want to show you first, which will come in handy: accessing Gravity Forms Branded assets.
How to access branded images
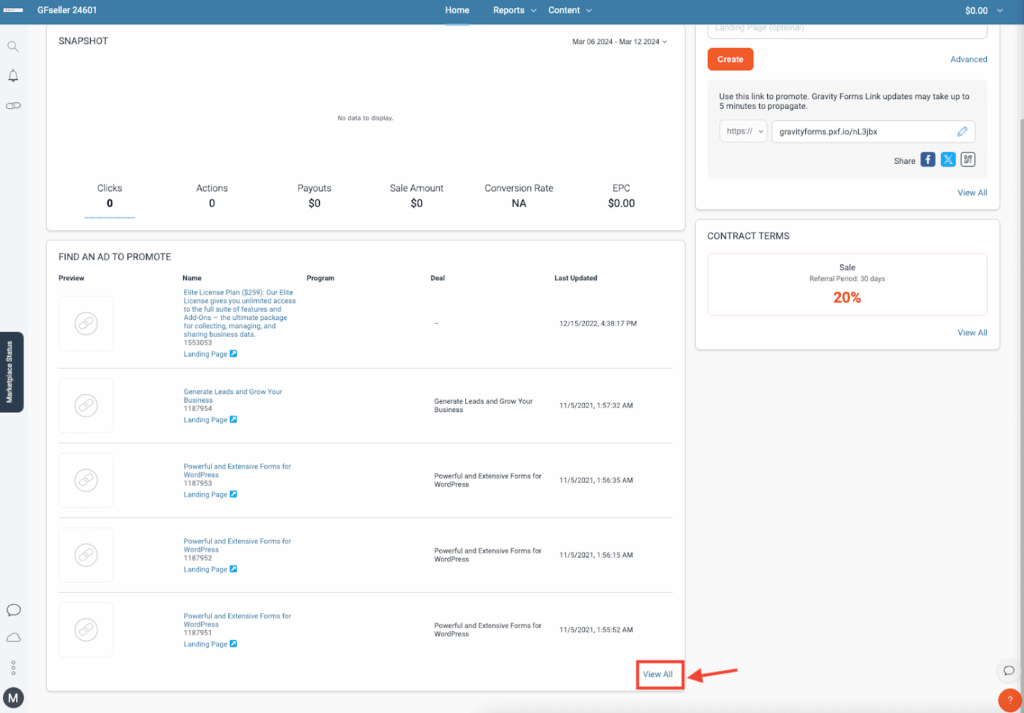
On your Home screen, beneath the Snapshot window, you will see the Find An Ad To Promote box. Here, you can search for pre-made Gravity Forms banner ads that you can use on your website. At the bottom of the box, click the View All button.
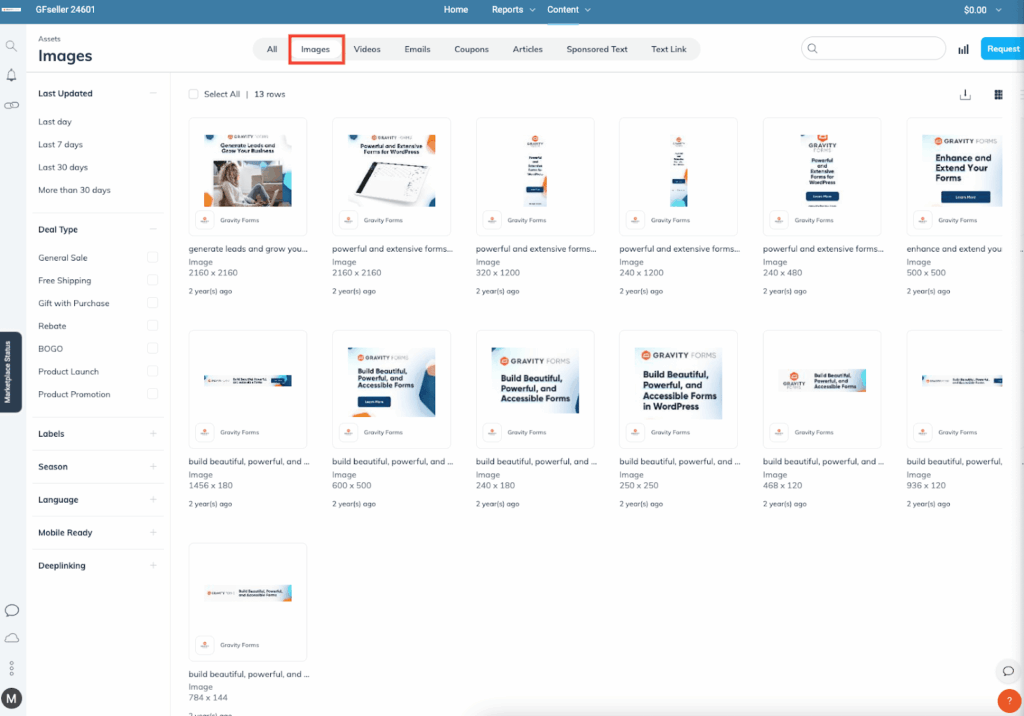
Now click the Images button at the top of the page.
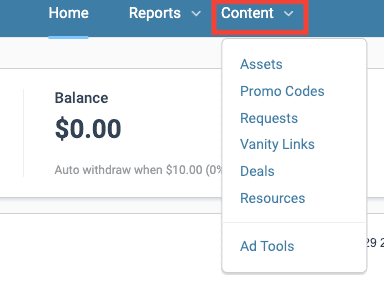
You can also find Banner Images by selecting the Content menu at the top of the page and click on the Assets button in the drop-down menu.
How to generate and view reports
This isn’t a necessary part of your account setup, but it’s worth mentioning that the Reports tab will be useful to see how your links and assets are performing. You can see an account Overview or create custom Reports by selecting the Reports dropdown in the center of the top menu bar.

Now that the boring part is over, you can take your new account to the next level! We are glad you are with us!